
This is not my first hack but my first submission at ikea hackers. The last four years I was looking around at different shops to buy a wardrobe covering our needs. At the end, due to the change of my occupation and the spare time in between, finally I made it myself.
The plan
First of all I made a round at the IKEA nearby and I took product papers of the modular systems PAX, FAKTUM, BESTA and STUVA. After studying a while I just realized, that there is no way to build my wardrobe just rearranging the modules. So I checked for a combination that takes the least effort to me. The result was a buying list as below.
Item list
- 3 x PAX – 50x58x236 cm
- 1 x PAX Vikedal – 50×229 cm
- 1 x Fardal high gloss white – 50×229 cm
- 1 x Abstrakt high gloss white – 40×195 cm
- 1 x Abstrakt high gloss white drawer set – 40×70 cm
- 5 x Faktum drawers 35×40 cm
Initial situation
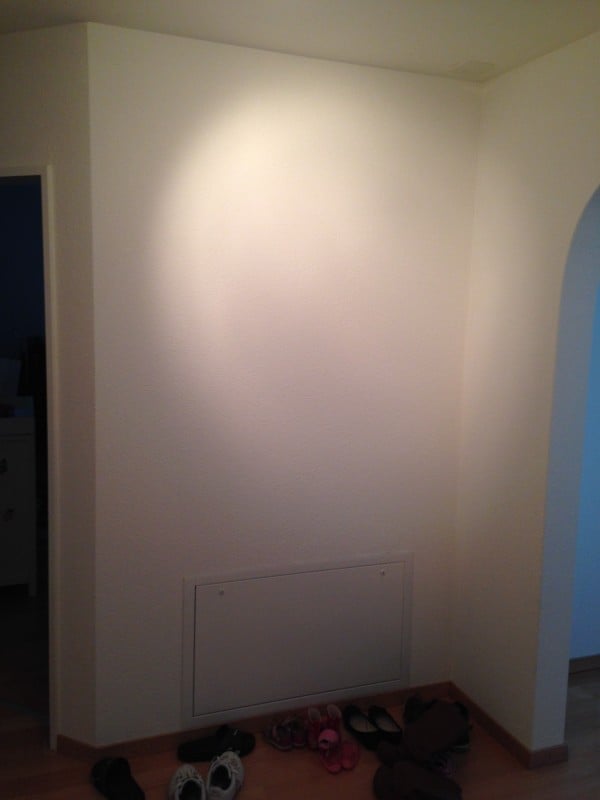
Available Space: 2420x1410x505mm
The build
The adventure began downsizing the PAX elements to
- H: 2328mm
- D: 465mm
Because of the heating-cabinet behind the wardrobe, the side panel on the left hand side had been cut 10mm longer eg. 475mm. I began on the right hand side to build up the modified PAX and noticed very fast, that the construction is very unstable, due to the missing backwall.

The next step was to build the base of the wardrobe. This little skeleton lifts the PAX modules over the mopboards and make it look like a true wall wardrobe.

A detailed view of the decorative strip rasped down to the exact outline of the mopboard: The illusion is just perfect.

No room is exact in angle. After I had nearly finished modifying all PAX modules and built them up, I realized that the wardrobe is at the top 12mm more distant of the wall. In short I created a new skeleton to compensate for the angle. The Picture below shows the Kitchen drawers mounted in the meantime (FAKTUM).

At the end I mounted the Backwall to stabilize the construction and I arranged all wardrobe internals.
The result

Comments always welcome 


via IKEA Hackers http://feedproxy.google.com/~r/Ikeahacker/~3/8jk56-xIBYs/custom-size-wardrobe.html From cantuccini
No comments:
Post a Comment